Free Functions as a service

Intro
Five minutes (almost!) to always free functions as a service courtesy of Oracle Cloud The full source code for this project is here.
Why do this?
All the major cloud providers offer some level of free service, however Oracle cloud is the only one offering this much compute free forever.
Yeah but why Oracle?
Okay you got me. I got sucked into their free tier. Plus I like the way they
describe instances sizes/flavours as shapes . It’s kinda cute.
Why Cloudflare?
This is more interesting choice. If I were on AWS I’d just use Route 53, but since I already use CloudFlare for DNS HTTPS certs with Let’s Encrypt and for Dynamic DNS it was a simple choice to use them for the DNS configuration in this project.
Terraform makes this easy to use, I can create an instance in Oracle’s cloud, assign it a public IP which is then passed to Cloudflare as the IP to register for DNS.
What you will need
If you are on MacOS and have homebrew:
brew install go-task/tap/go-task
brew install terraform
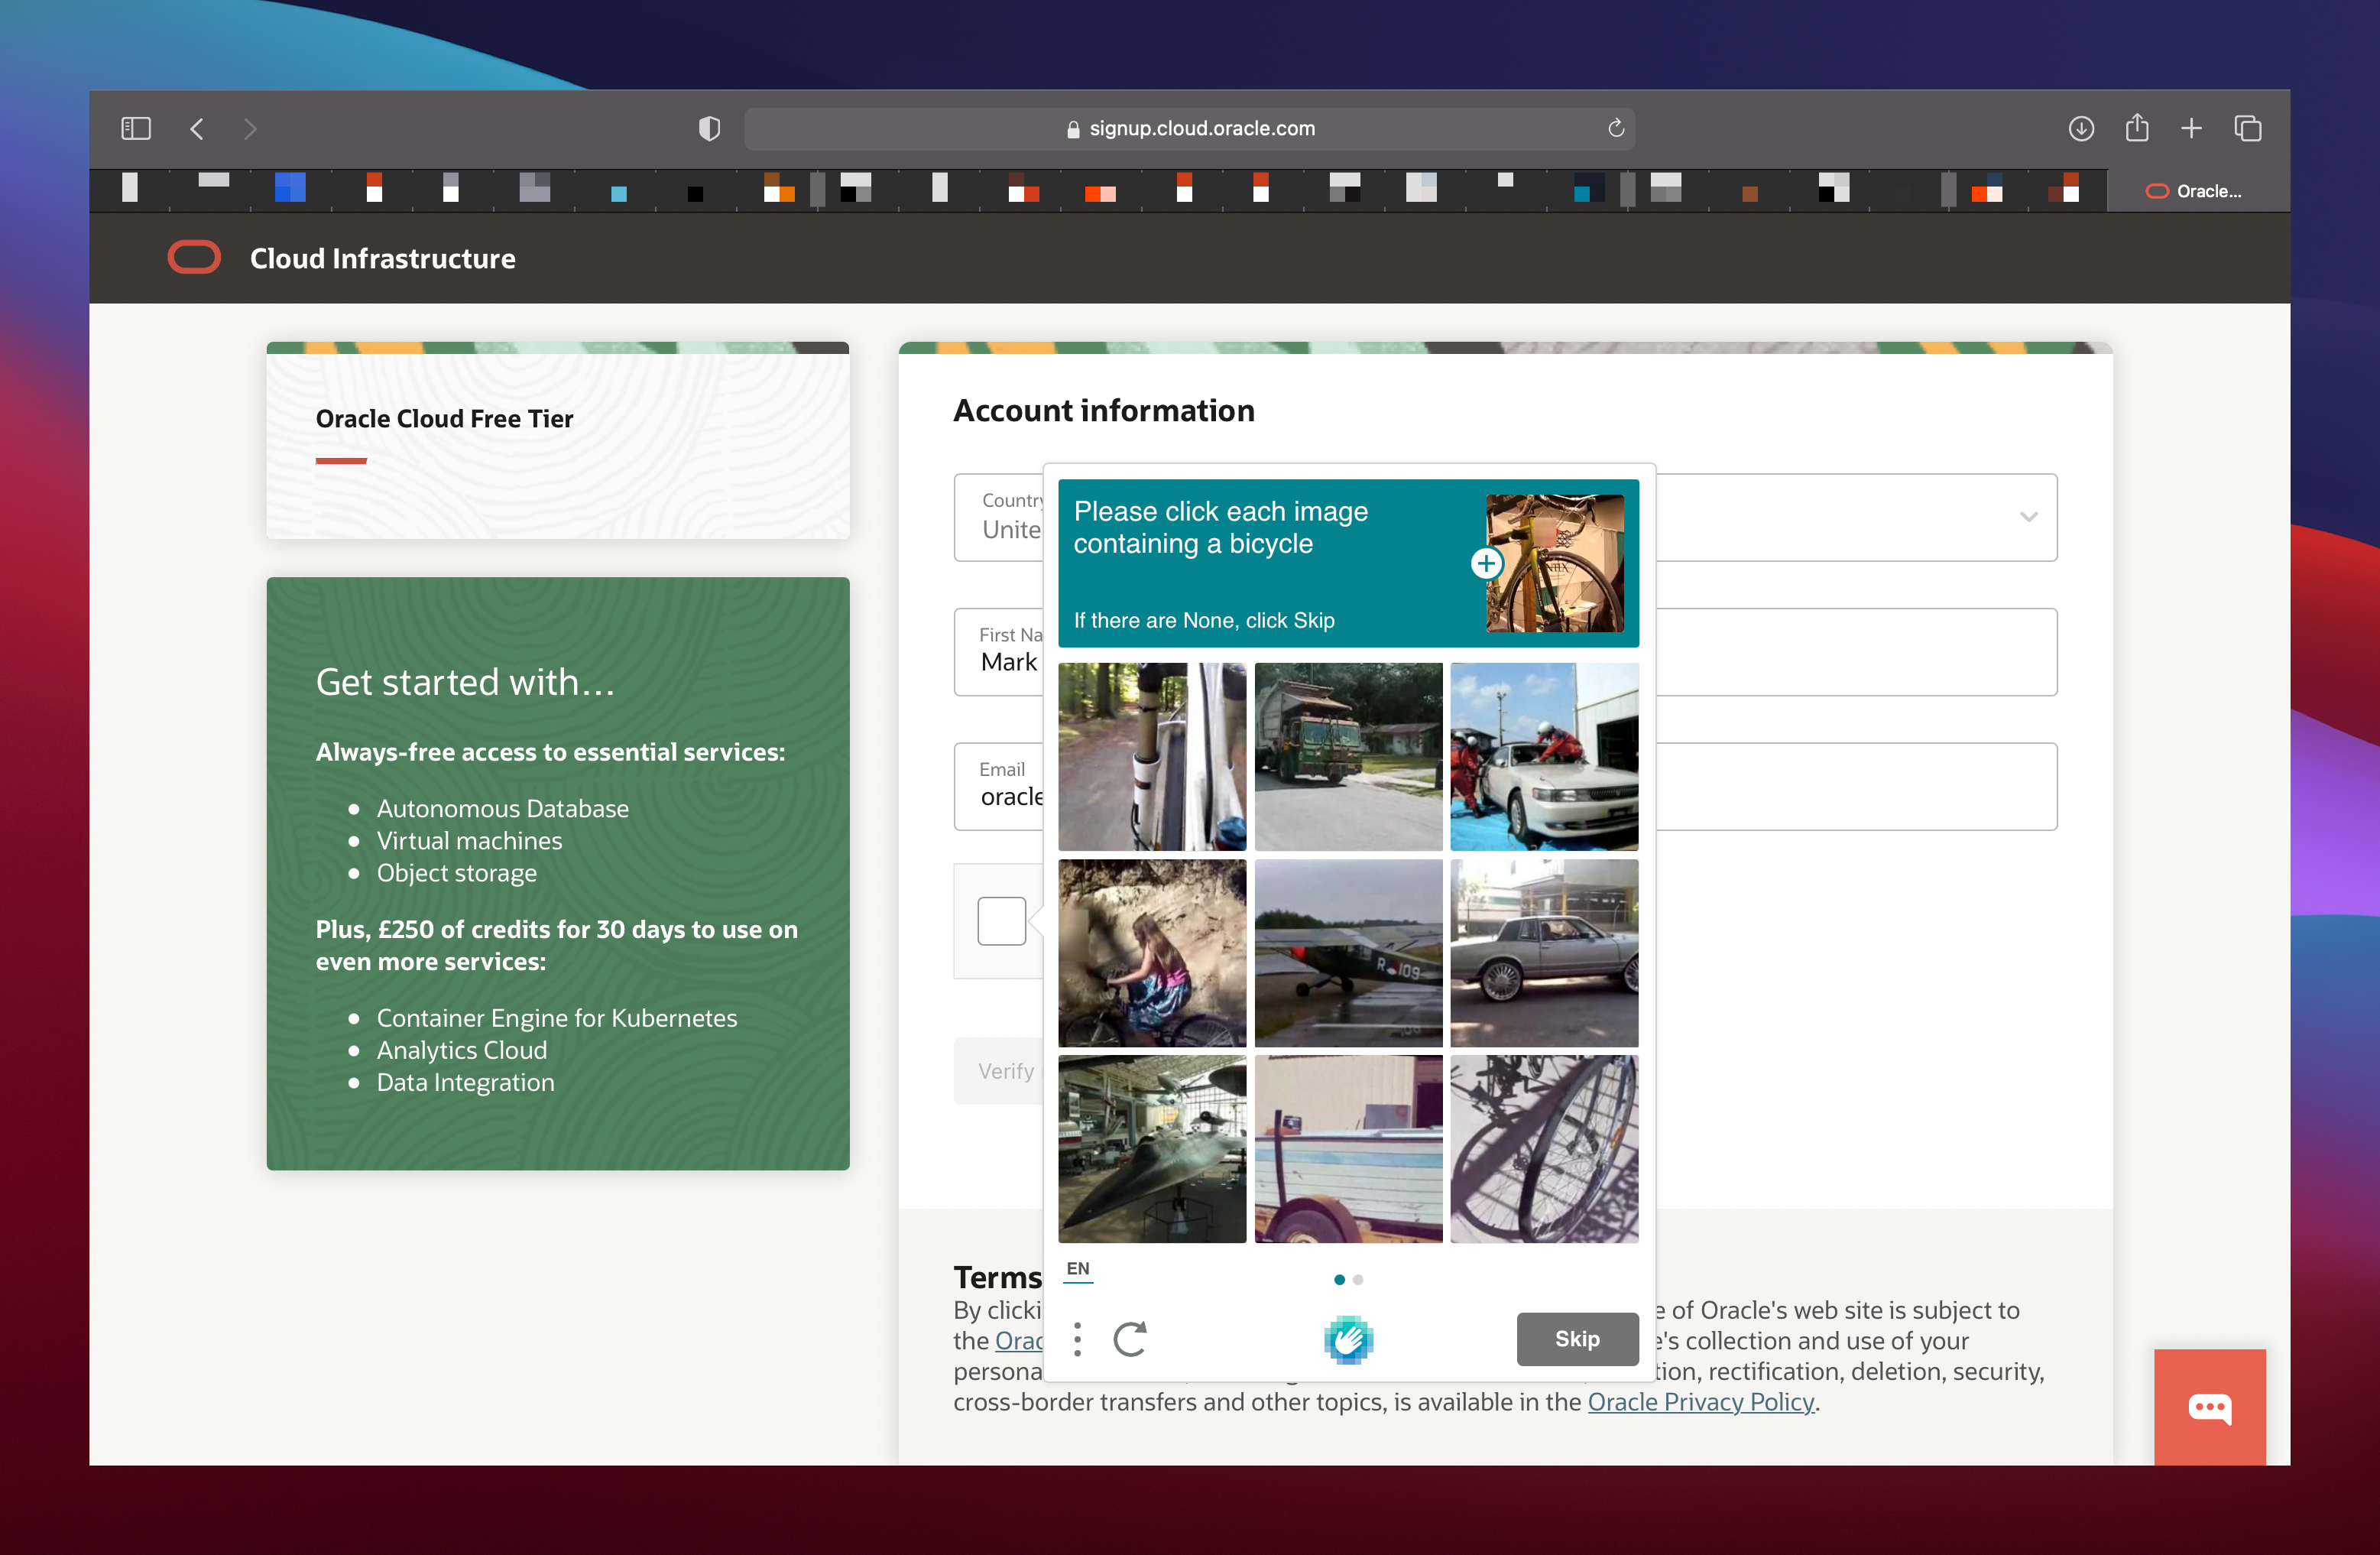
- An account on Oracle Cloud free tier. This will probably take longer to setup than this project.
- Cloudflare account and a domain name using their nameservers.
Configure OCI CLI API access.
The easiest way to do this is with the OCI CLI tool:
On a mac with homebrew you may do brew install oci-cli
The Oracle cloud docs have more information on how to use this CLI tool.
Configure Cloudflare API token
I’ve configured my Domain name to use CLoudflare’s name servers so I can leverage the Terraform provider to automatically give my FaaSD appliance a nice URL and a fancy Let’s Encrypt certificate.
The Hashi docs have a nice tutorial on how to configure an API token for use with CLoudflare.
Let’s get going
Clone the Project
Clone the project from github:
git clone git@github.com:markopolo123/faasd-oracle-cloud-terraform.git

cd faasd-oracle-cloud-terraform
Add your variables
I used Taskfile to make this easy. If you don’t want to use Taskfile you can take a look at taskfile.yml to see a breakdown of the terraform commands.
# Create terraform.tfvars
task setup
This will create terraform.tfvars for you to populate.
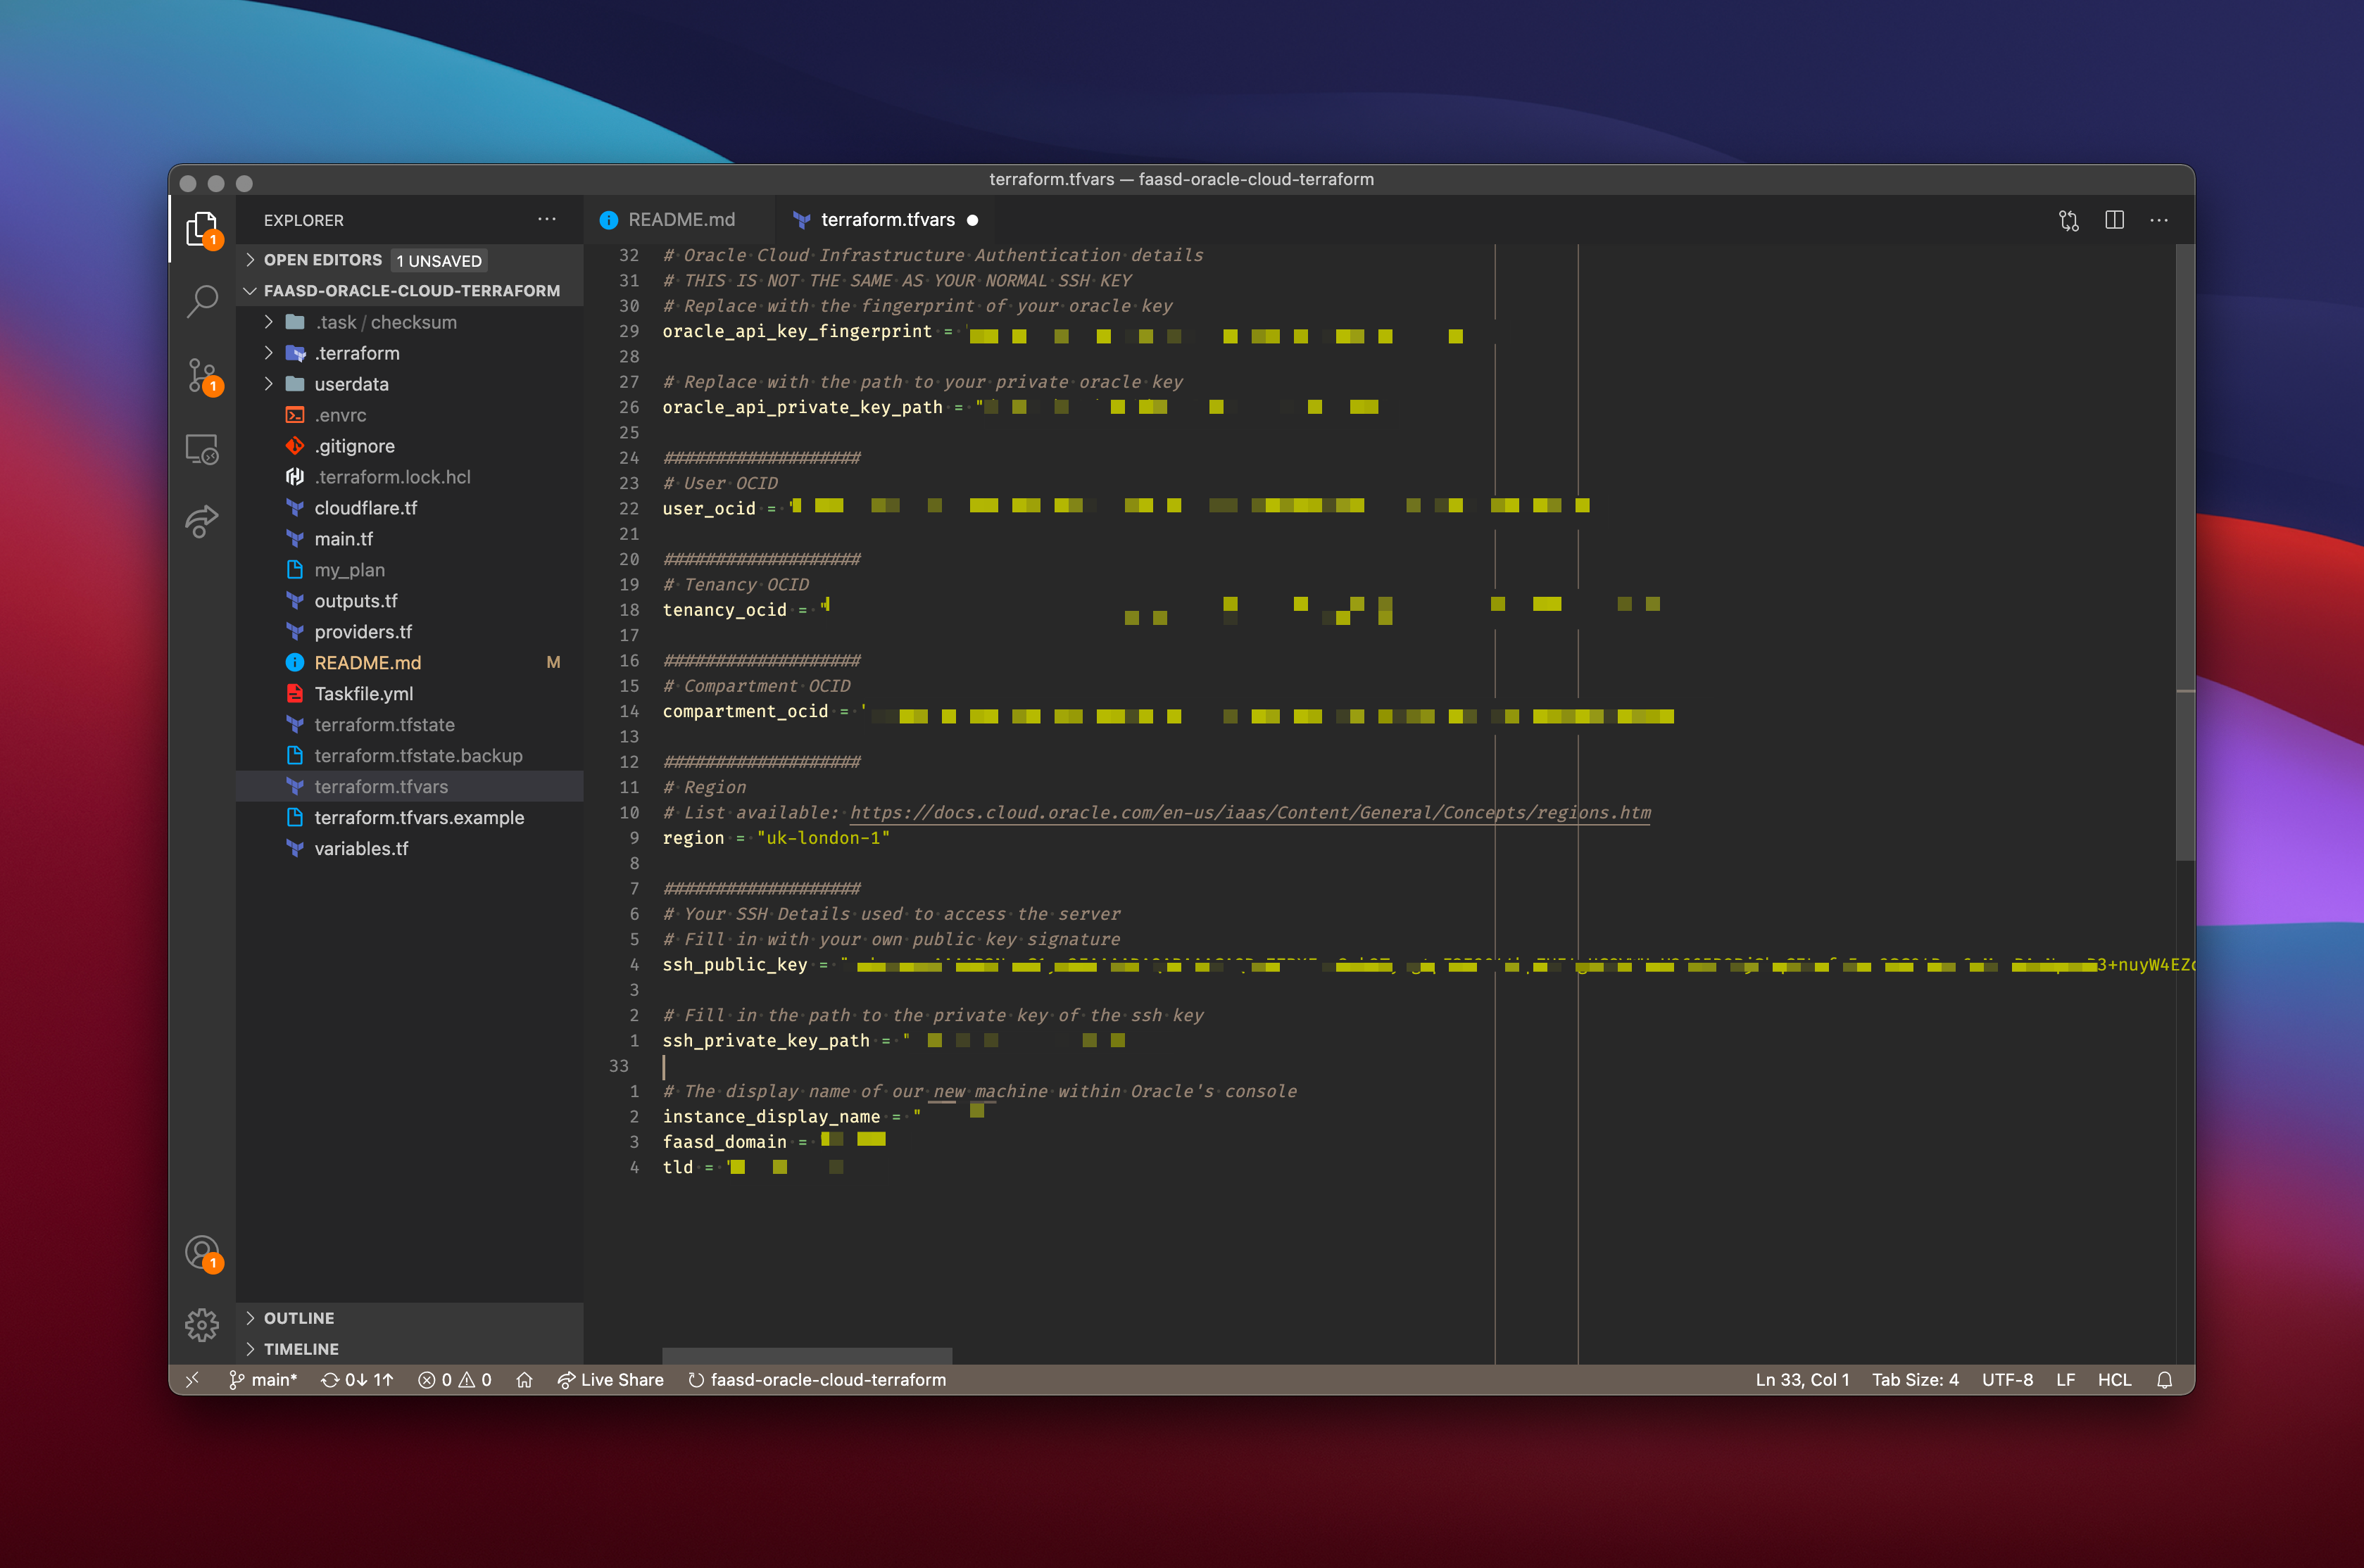
Populate your terraform.tfvars file. It should look something like the below:
Create your FREE FaaSD instance
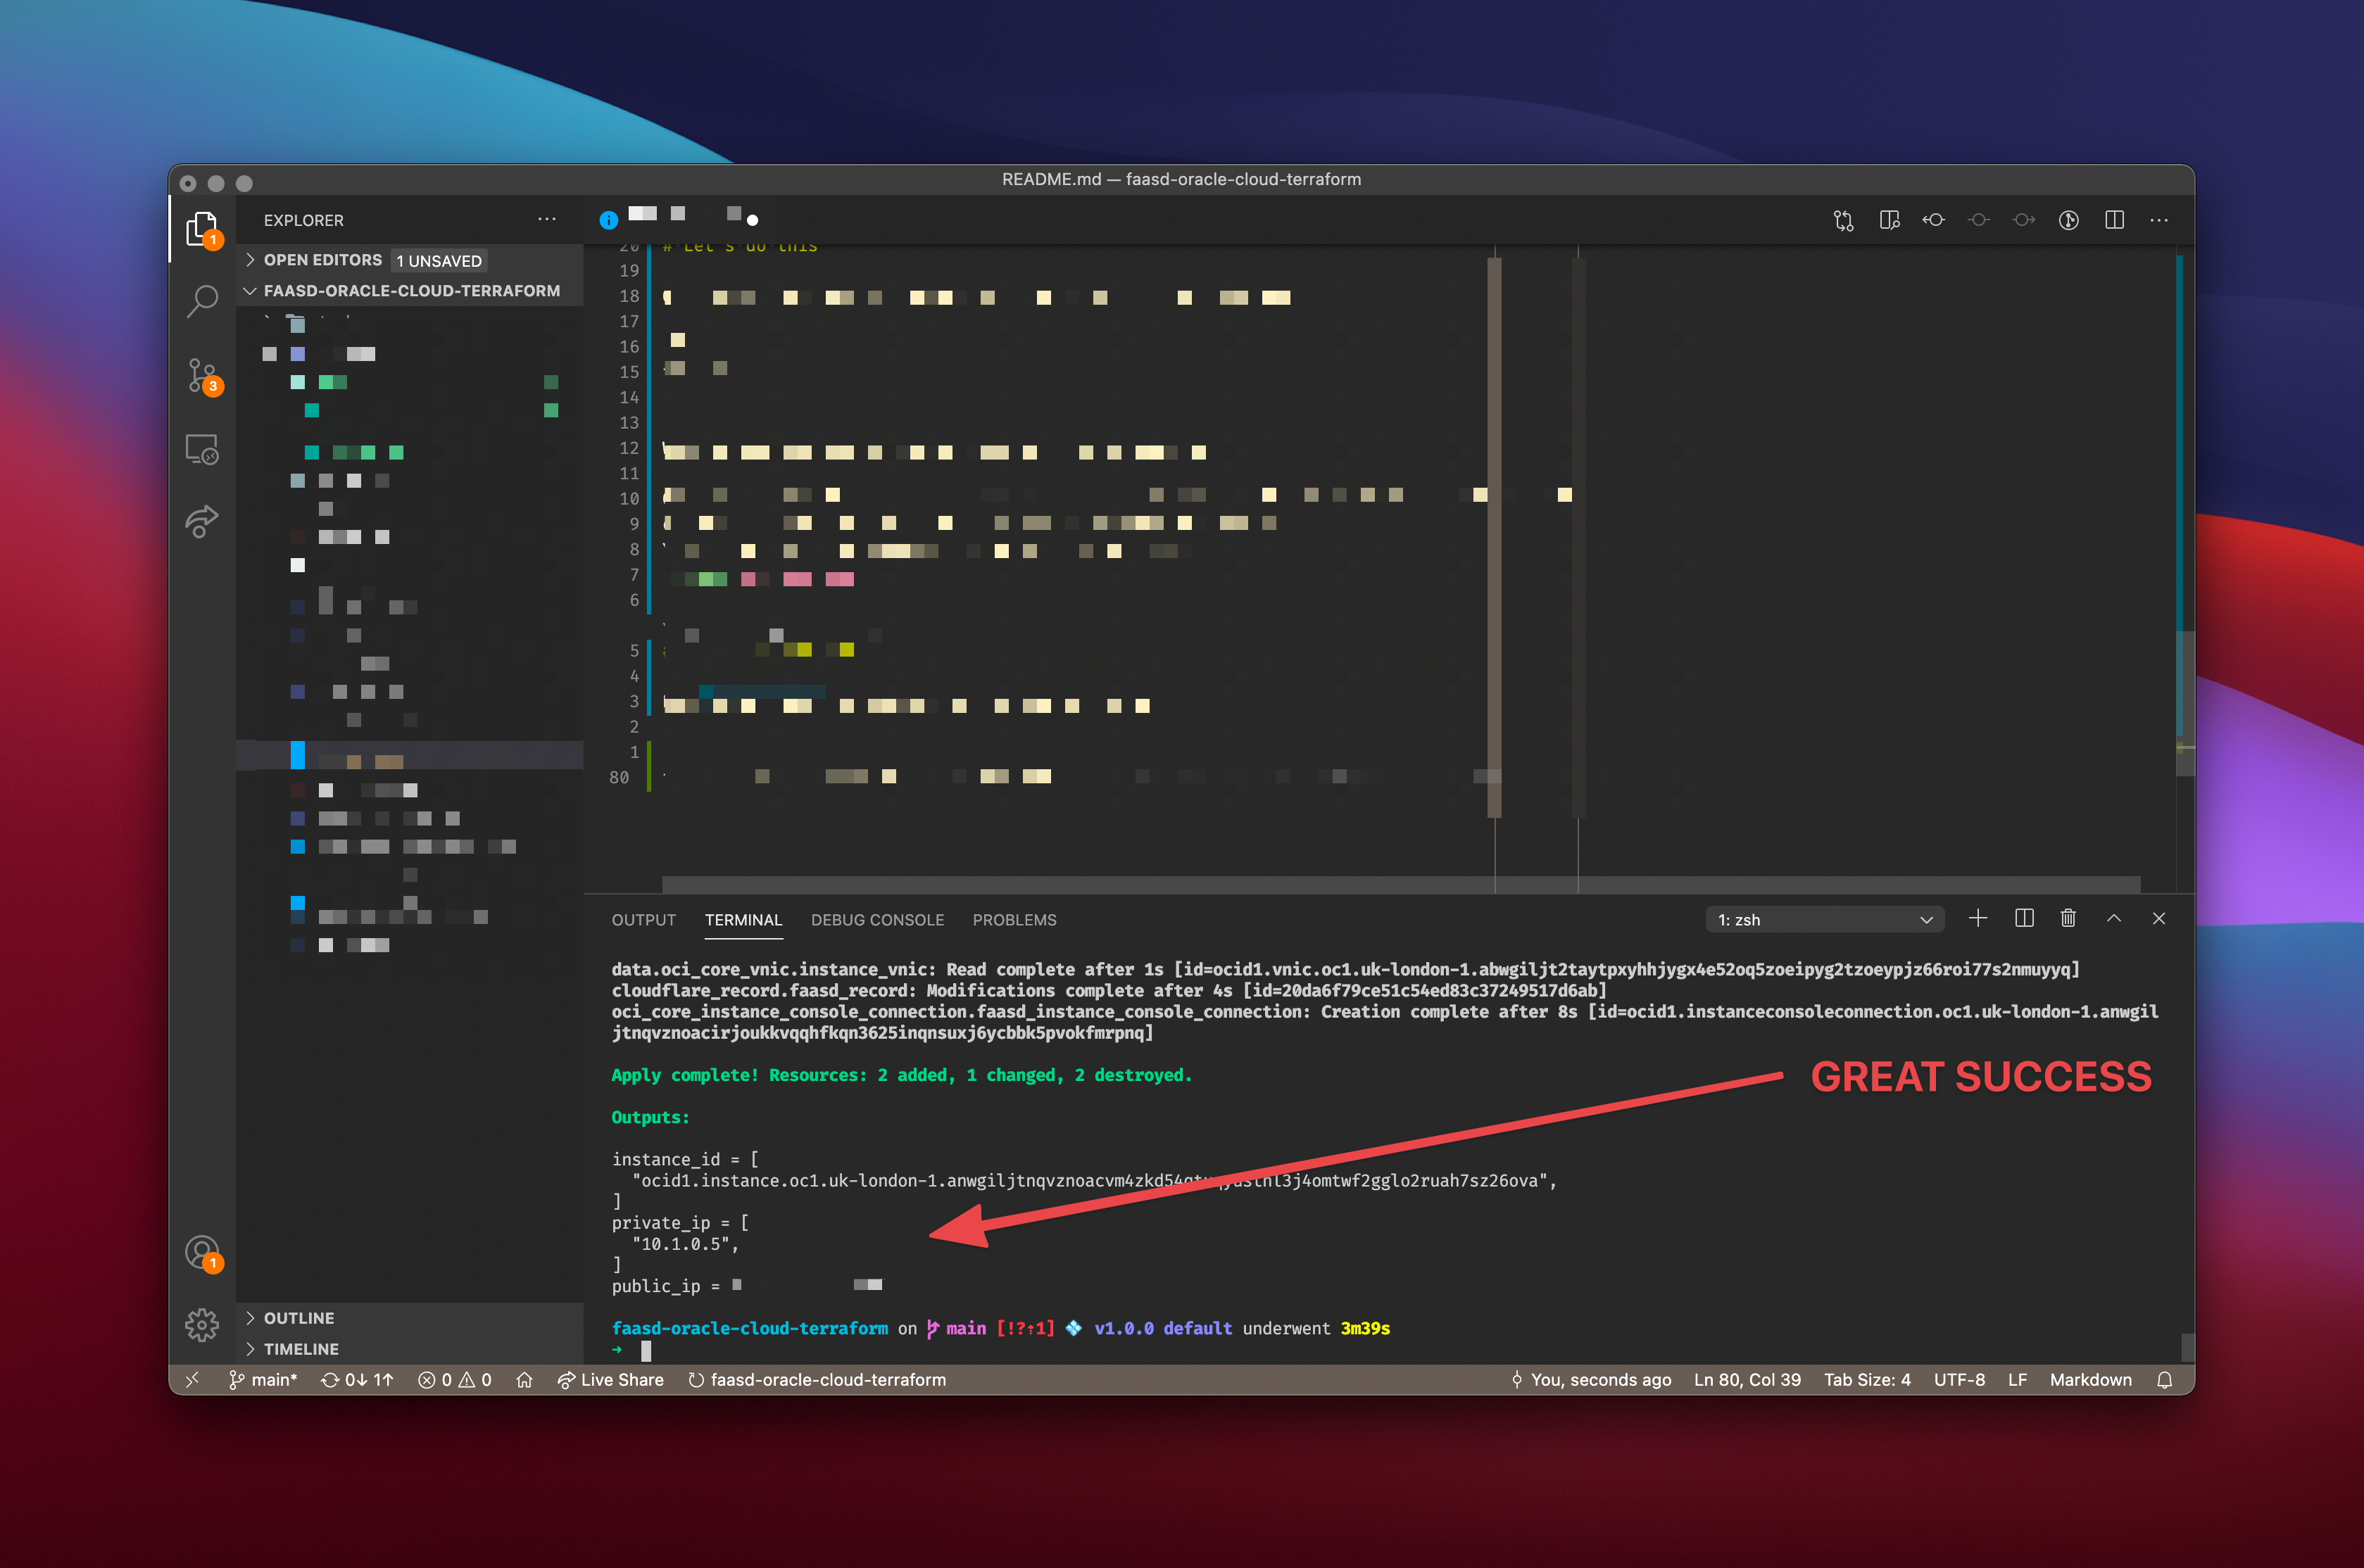
Once you have added your variables you are good to go. A single command is all you need:
task apply
If you want to do a dry run and see what the apply command would do:
task plan
Using your new instance
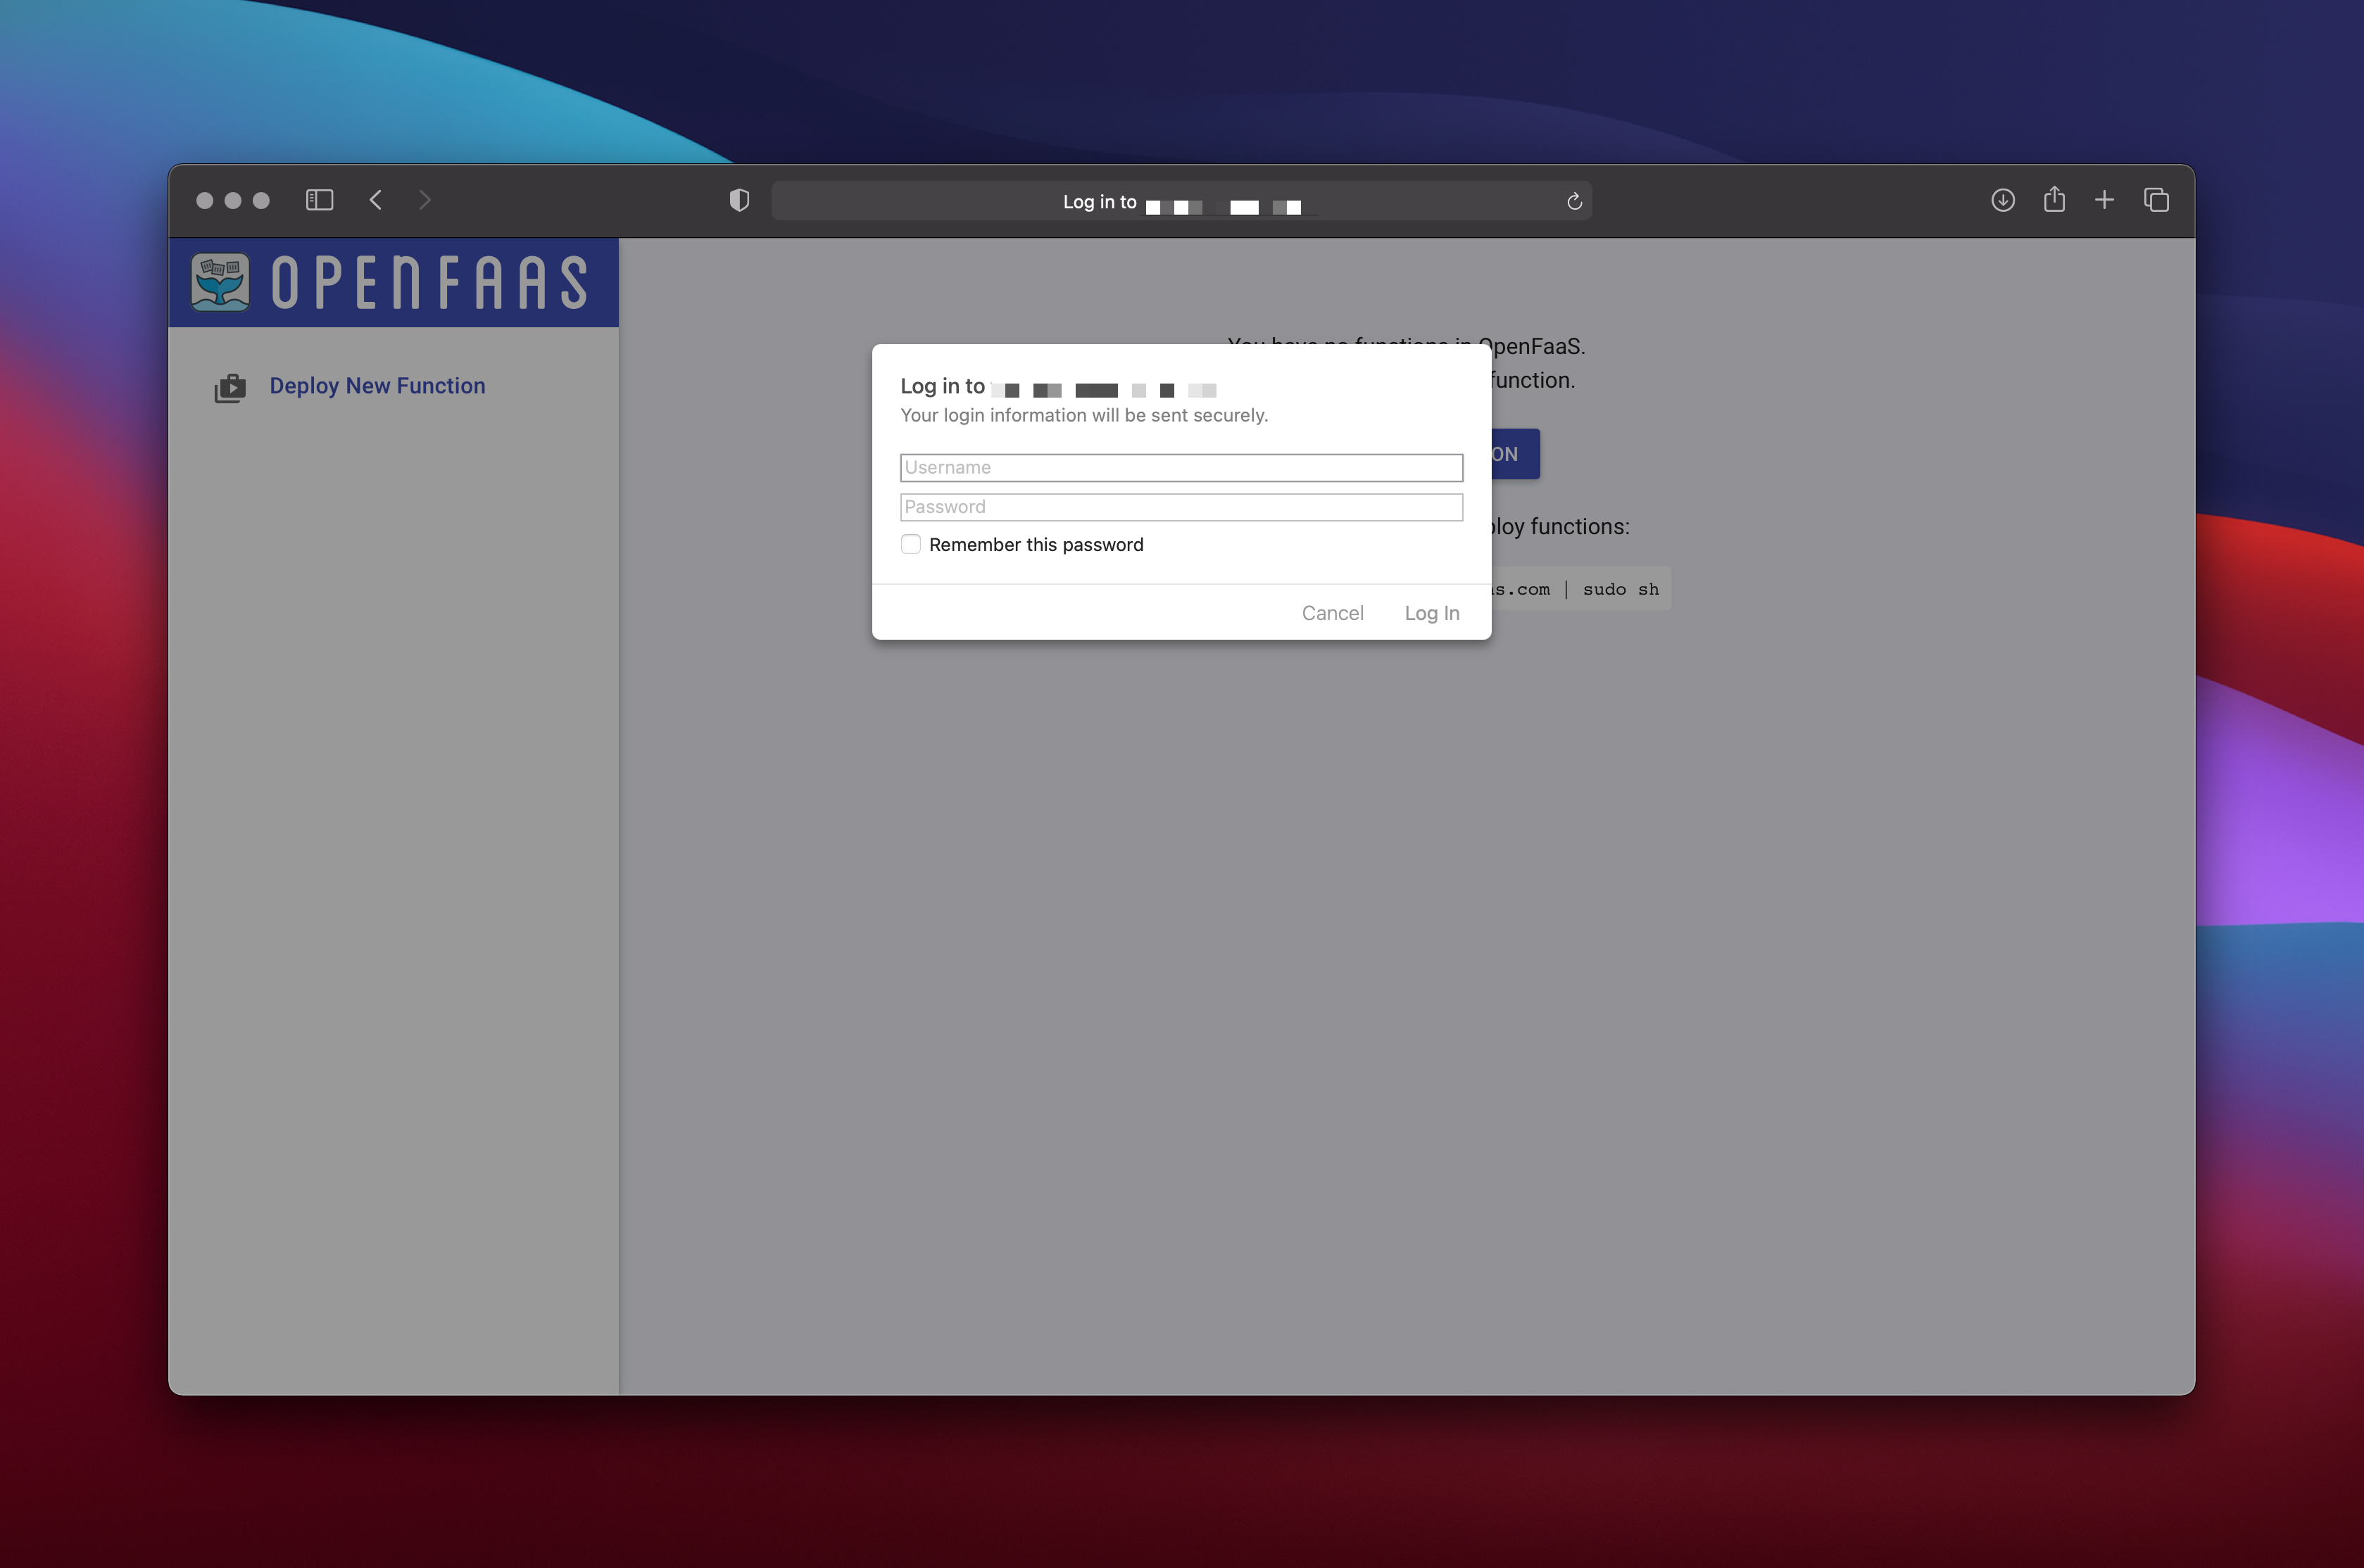
You should now be able to log in using the web interface and the faas-cli tool:
Next Steps
Things to improve…
- Image based deployment would be quicker
- Exposing metrics via the built in prometheus
- Making some functions ; )
If you are interested in finding out more about FaaSd check out the project here or the official OpenFaaS book.


